OpenClaw 网关配置:Nginx 反向代理 + WebSocket + 自签 SSL 证书
本文记录如何在 Ubuntu 22.04 上配置 Nginx 反向代理 OpenClaw 网关服务,支持 WebSocket 长连接,并使用自签 SSL 证书启用 HTTPS。
环境信息
- 系统:Ubuntu 22.04.5 LTS
- Nginx 版本:1.18.0
- 后端服务:OpenClaw Gateway (127.0.0.1:18789)
- 对外端口:28443 (HTTPS)
- 服务器 IP:121.36.102.218
一、安装 Nginx 和 OpenSSL
sudo apt-get update
sudo apt-get install -y nginx openssl
二、生成自签 SSL 证书
sudo mkdir -p /etc/nginx/ssl
sudo openssl req -x509 -nodes -days 365 -newkey rsa:2048 \
  -keyout /etc/nginx/ssl/openclaw.key \
  -out /etc/nginx/ssl/openclaw.crt \
  -subj "/C=CN/ST=Beijing/L=Beijing/O=OpenClaw/CN=121.36.102.218"
证书有效期 365 天,CN 设置为服务器 IP。
三、配置 Nginx(含 WebSocket 支持)
创建配置文件 /etc/nginx/sites-available/openclaw:
server {
    listen 28443 ssl;
    server_name 121.36.102.218;

    ssl_certificate /etc/nginx/ssl/openclaw.crt;
    ssl_certificate_key /etc/nginx/ssl/openclaw.key;

    ssl_protocols TLSv1.2 TLSv1.3;
    ssl_ciphers HIGH:!aNULL:!MD5;
    ssl_prefer_server_ciphers on;

    location / {
        proxy_pass http://127.0.0.1:18789;
        proxy_http_version 1.1;

        # WebSocket 支持
        proxy_set_header Upgrade $http_upgrade;
        proxy_set_header Connection "upgrade";

        # 必要的代理头
        proxy_set_header Host $host;
        proxy_set_header X-Real-IP $remote_addr;
        proxy_set_header X-Forwarded-For $proxy_add_x_forwarded_for;
        proxy_set_header X-Forwarded-Proto $scheme;

        # 超时设置(WebSocket 长连接)
        proxy_read_timeout 86400s;
        proxy_send_timeout 86400s;
    }
}
关键点:
proxy_set_header Upgrade和Connection用于 WebSocket 握手- 超时设置为 24 小时,避免长连接被中断
- 使用 TLSv1.2/1.3,禁用弱加密
四、启用配置并启动
# 创建软链接启用站点
sudo ln -s /etc/nginx/sites-available/openclaw /etc/nginx/sites-enabled/openclaw

# 删除默认站点(可选)
sudo rm -f /etc/nginx/sites-enabled/default

# 测试配置
sudo nginx -t

# 重启 Nginx
sudo systemctl restart nginx

# 检查状态
sudo systemctl status nginx --no-pager

# 验证端口监听
sudo ss -tlnp | grep 28443
五、配置 OpenClaw 网关 CORS
编辑 ~/.openclaw/openclaw.json,在 gateway 部分添加:
"gateway": {
  "controlUi": {
    "allowedOrigins": [
      "https://121.36.102.218:28443"
    ]
  }
}
然后重启网关:
openclaw gateway restart六、验证
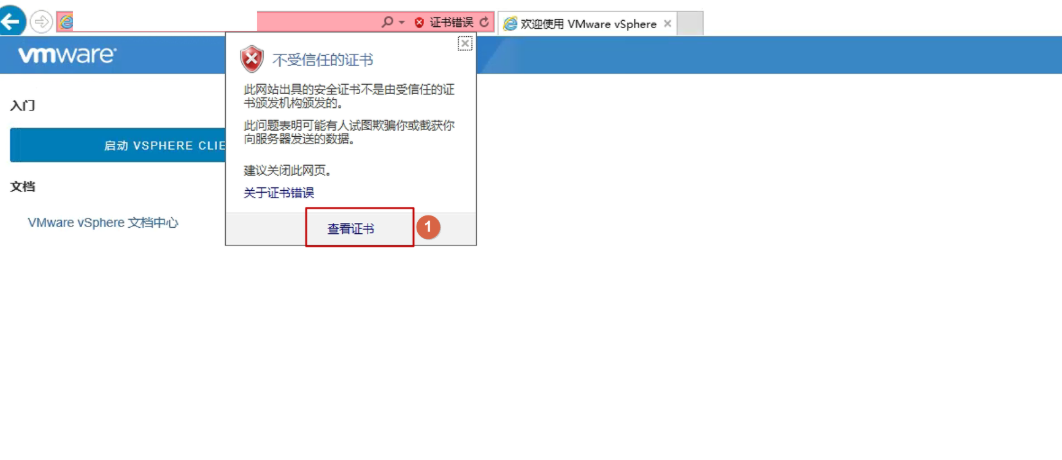
访问 https://121.36.102.218:28443,浏览器会提示证书不受信任(自签证书),点击"继续访问"即可。
注意事项
- 自签证书警告: 浏览器会显示安全警告,生产环境建议使用 Let's Encrypt 等可信 CA
- 防火墙: 确保 28443 端口在安全组中开放
- WebSocket: 如果后端是 OpenClaw 等需要长连接的服务,必须配置 Upgrade 头
配置完成! 🤖
声明:本站所有文章,如无特殊说明或标注,均为本站原创发布。任何个人或组织,在未征得本站同意时,禁止复制、盗用、采集、发布本站内容到任何网站、书籍等各类媒体平台。如若本站内容侵犯了原著者的合法权益,可联系我们进行处理。