linux7安装oracle12c
分区推荐大小
Boot:300M
Home:20G
Swap:=内存的两倍(内存小于4G为内存两倍,大于4G小于8G为1.5倍,大于8G小于16G相等,大于16G可分16-32G之间。SWAP一般用不到,用到会大大影响性能,建议不要给太大)
剩下的都给跟分区
强烈建议:oracle的数据单独分区挂载,home和根分区用lvm划分
一、环境配置
1、挂载cdrom、设置yum源
#挂载ISO文件
[root@localhost mnt]# mount /dev/cdrom /mnt/
使用阿里云镜像源
[root@localhost ~]# cd /etc/yum.repos.d/
[root@localhost yum.repos.d]# yum install wget -y
[root@localhost yum.repos.d]# wget http://mirrors.aliyun.com/repo/Centos-7.repo
[root@localhost yum.repos.d]# yum clean all
[root@localhost yum.repos.d]# yum makecache
2、安装桌面环境
yum groupinstall "X Window System"  -y
yum -y install gnome-classic-session gnome-terminal nautilus-open-terminal control-center liberation-mono-fonts
#设置开机进入桌面
unlink /etc/systemd/system/default.target
ln -fs /lib/systemd/system/graphical.target /etc/systemd/system/default.target
#配置VNC服务
3、安装依赖软件包
[root@localhost ~]# yum -y install binutils compat-libcap1 compat-libstdc++-33 compat-libstdc++-33.i686 gcc gcc-c++ glibc glibc.i686 glibc-devel glibc-devel.i686 ksh libgcc libgcc.i686 libstdc++ libstdc++.i686 libstdc++-devel libstdc++-devel.i686 libaio libaio.i686 libaio-devel libaio-devel.i686 libXext libXext.i686 libX11 libX11.i686 libxcb libxcb.i686 libXi libXi.i686 make sysstat zlib-devel unixODBC-*
4、修改系统内核参数
cat>>/etc/sysctl.conf<<EOF
 kernel.shmmni=4096
 kernel.sem=250 32000 100 128
 fs.file-max=6815744
 fs.aio-max-nr=1048576
 net.ipv4.ip_local_port_range=9000 65500
 net.core.rmem_default=262144
 net.core.rmem_max=4194304
 net.core.wmem_default=262144
 net.core.wmem_max=1048576
EOF
 [root@localhost ~]# sysctl -p     //立即生效
5、建立用户和组
[root@localhost ~]# groupadd oinstall
[root@localhost ~]# groupadd dba
[root@localhost ~]# groupadd oper
[root@localhost ~]# useradd -g oinstall -G dba,oper oracle [root@localhost ~]# echo "oracle" | passwd --stdin oracle
//给oracle用户设置密码为oracle
6、限制资源参数(原参数不变,新参数增加)
cat>>/etc/pam.d/login<<EOF
session    required     pam_selinux.so open
session    required     pam_namespace.so
session    required     pam_limits.so
session    optional     pam_keyinit.so force revoke
session    include      system-auth
session   optional     pam_ck_connector.so
EOF
7、修改用户限制
cat>>/etc/security/limits.conf<<EOF
oracle  soft  nproc   2047
oracle  hard  nproc   16384
oracle  soft  nofile  1024
oracle  hard  nofile  65536
oracle  soft  stack   10240
oracle  hard  stack   32768
EOF
cat>>/etc/profile<<EOF
if [ $USER = "oracle" ]
then
if [ $SHELL = "/bin/ksh" ]
then
ulimit -p 16384 //缓冲区大小
ulimit -p 65536
else
ulimit -u 16384 -n 65536 //进程数 文件数
fi
fi
EOF8、设置环境变量
cat>>/home/oracle/.bash_profile<<EOF
umask 022
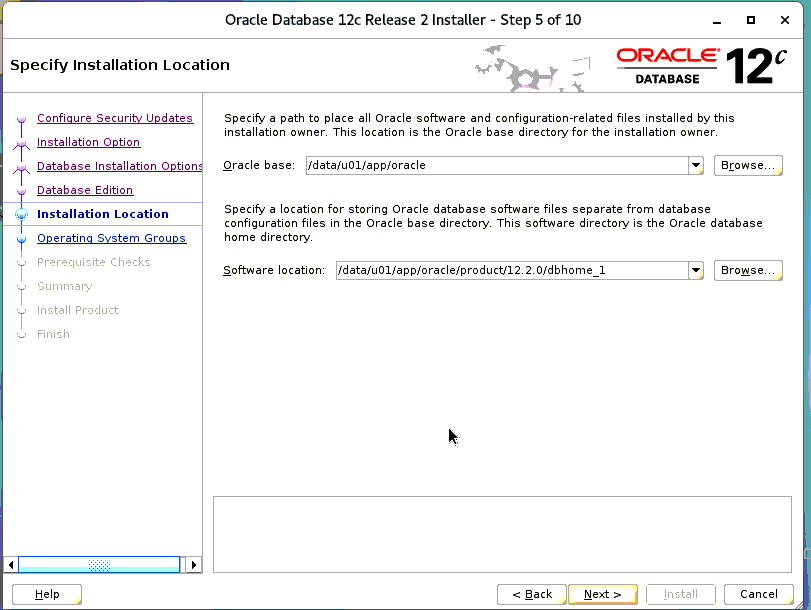
export ORACLE_BASE=/u01/app/oracle
export ORACLE_HOME=/u01/app/oracle/product/12.2.0/dbhome_1
export LANG=en_US
export LD_LIBRARY_PATH=$ORACLE_HOME/lib:/lib:/usr/lib
export CLASSPATH=$ORACLE_HOME/jlib:$ORACLE_HOME/rdbms/jlib
export PATH=$PATH:$ORACLE_HOME/bin
EOF[root@localhost ~]# source /home/oracle/.bash_profile //使变量立即生效 9、创建目录并赋予oralce用户权限
[root@worker01 ~]# mkdir -p /u01/app/oracle
[root@worker01 ~]# chown oracle:oinstall /u01/
二、oracle安装
切换到oracle用户
[root@localhost ~]# su - oracle
1、准备oracle安装包(官网下载地址)
http://www.oracle.com/technetwork/database/enterprise-edition/downloads/index.html
2、解压缩
[oracle@localhost ~]$ unzip linuxamd64_12c_database_1of2.zip [oracle@localhost ~]$ unzip linuxamd64_12c_database_2of2.zip
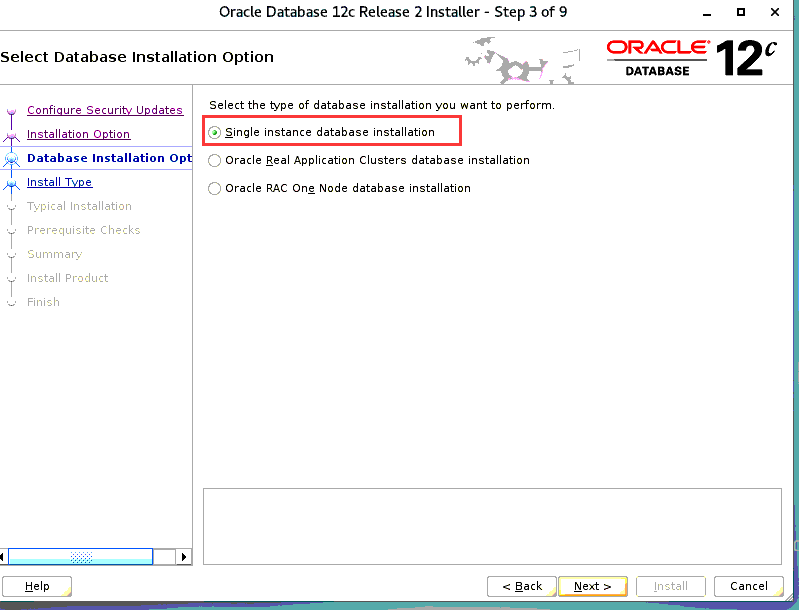
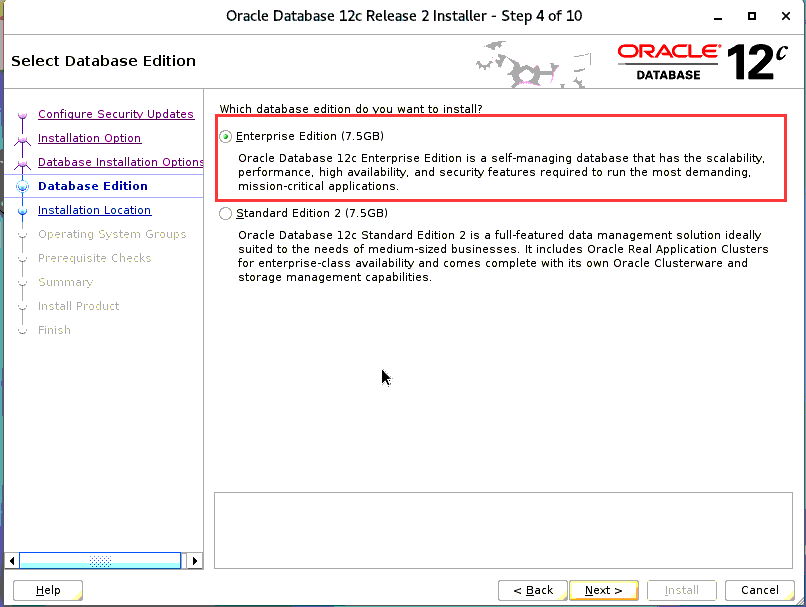
3、安装
[oracle@localhost ~]$ cd database/ [oracle@localhost database]$ ./runInstaller
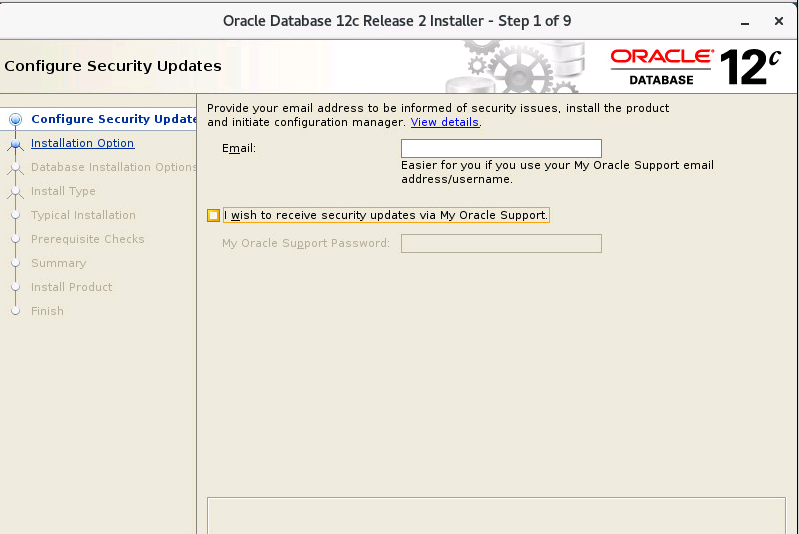

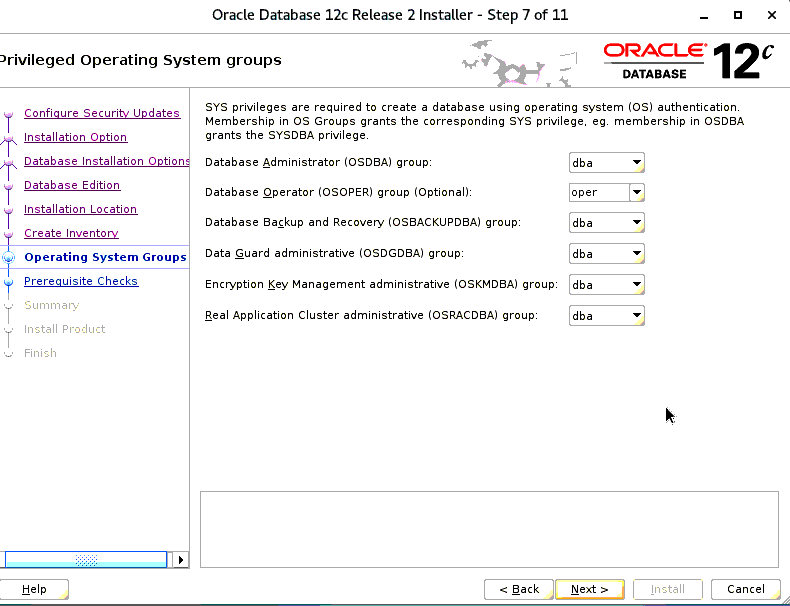
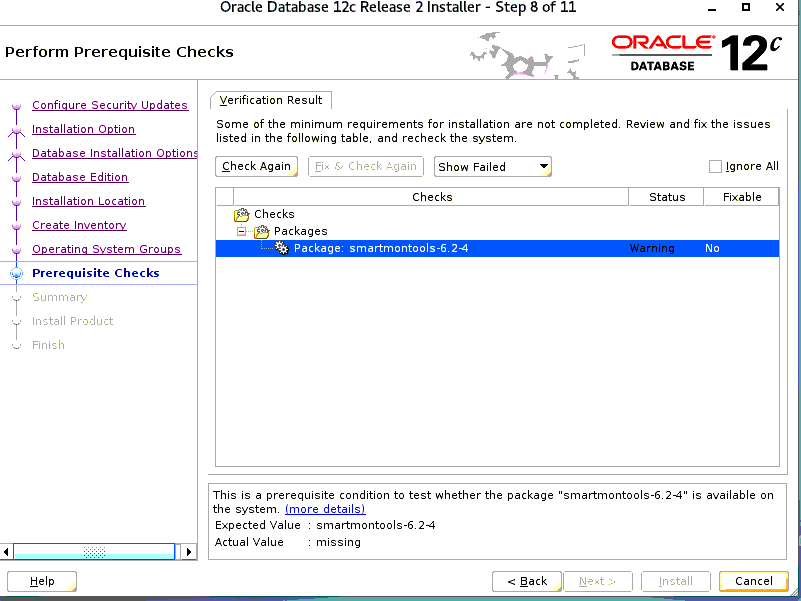
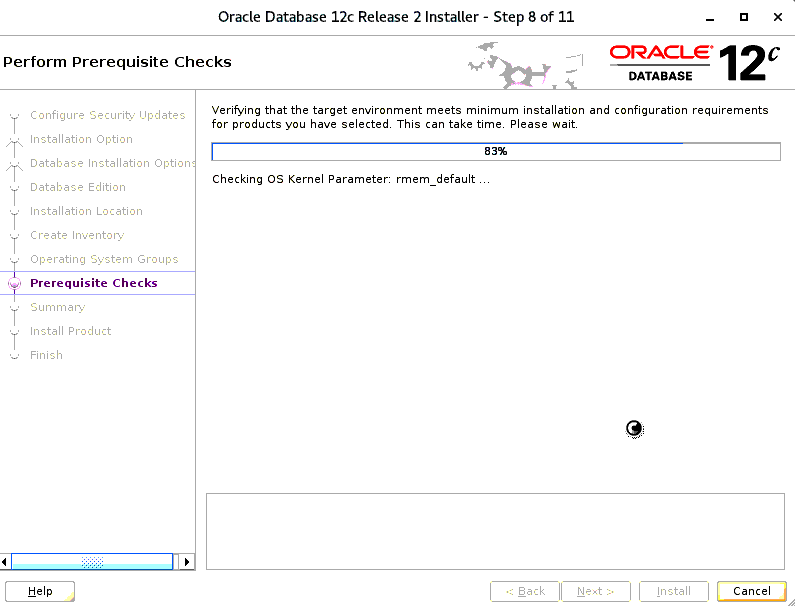
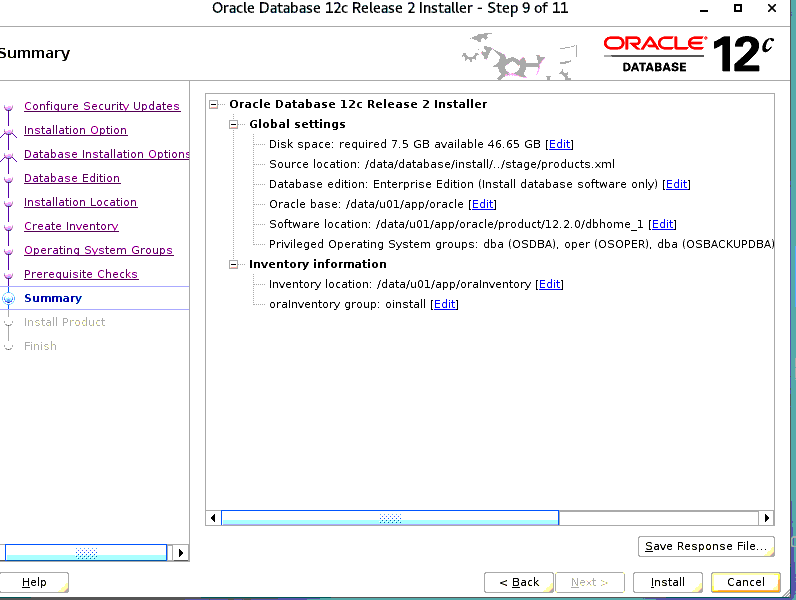

出现如下界面,需要使用root执行下,执行完成之后选择OK继续

[root@worker01 ~]# /u01/app/oraInventory/orainstRoot.sh
Changing permissions of /u01/app/oraInventory.
Adding read,write permissions for group.
Removing read,write,execute permissions for world.

Changing groupname of /u01/app/oraInventory to oinstall.
The execution of the script is complete.
[root@worker01 ~]# /u01/app/oracle/product/12.2.0/dbhome_1/root.sh
Performing root user operation.

The following environment variables are set as:
    ORACLE_OWNER= oracle
    ORACLE_HOME=  /u01/app/oracle/product/12.2.0/dbhome_1

Enter the full pathname of the local bin directory: [/usr/local/bin]:
   Copying dbhome to /usr/local/bin ...
   Copying oraenv to /usr/local/bin ...
   Copying coraenv to /usr/local/bin ...


Creating /etc/oratab file...
Entries will be added to the /etc/oratab file as needed by
Database Configuration Assistant when a database is created
Finished running generic part of root script.
Now product-specific root actions will be performed.
Do you want to setup Oracle Trace File Analyzer (TFA) now ? yes|[no] :

Oracle Trace File Analyzer (TFA - User Mode) is available at :
    /u01/app/oracle/product/12.2.0/dbhome_1/suptools/tfa/release/tfa_home/bin/tfactl

OR

Oracle Trace File Analyzer (TFA - Daemon Mode) can be installed by running this script :
    /u01/app/oracle/product/12.2.0/dbhome_1/suptools/tfa/release/tfa_home/install/roottfa.sh
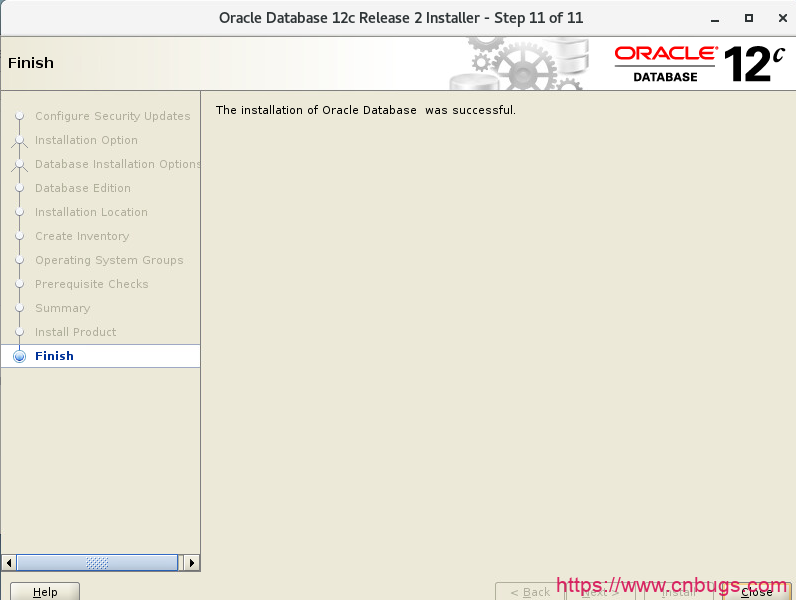
没有报错安装完成
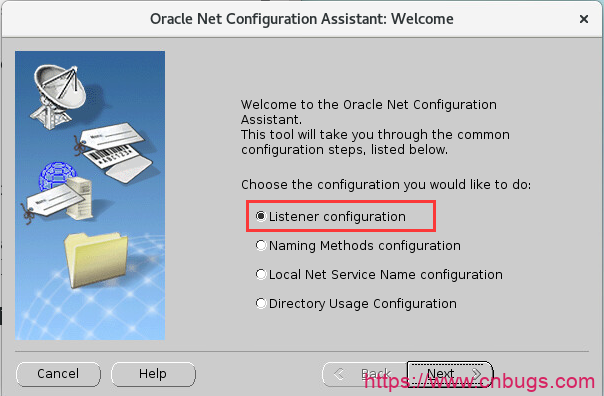
三、监听和实例配置
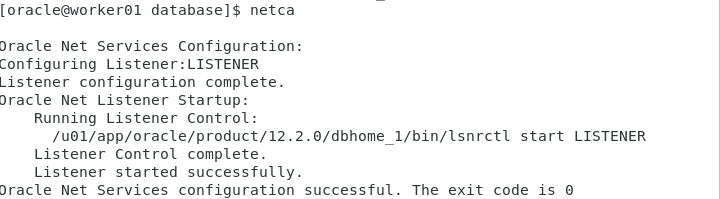
如果没有netca命令需要在~/.bash_profile变量文件里边配置一下
source ~/.bash_profile[oracle@RD-GYJDEDRT ~]$ netca
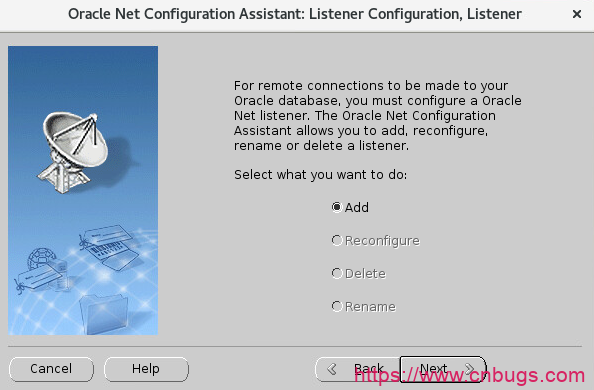
配置监听
add创建
名字默认
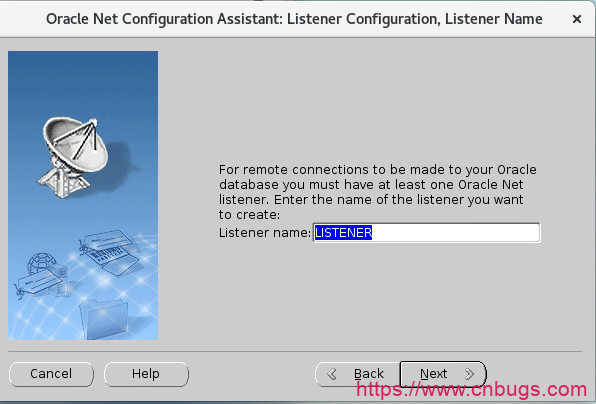
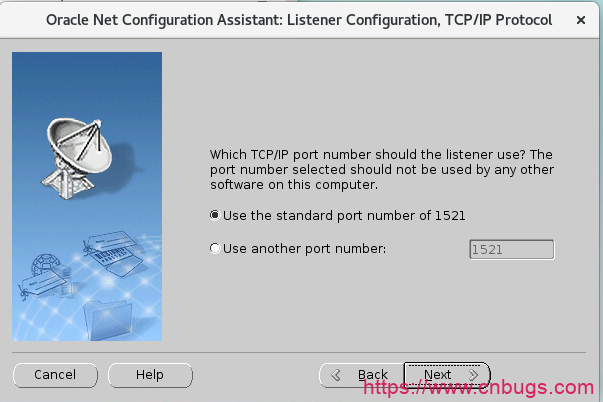
默认使用1521端口号
最后完成即可
创建实例
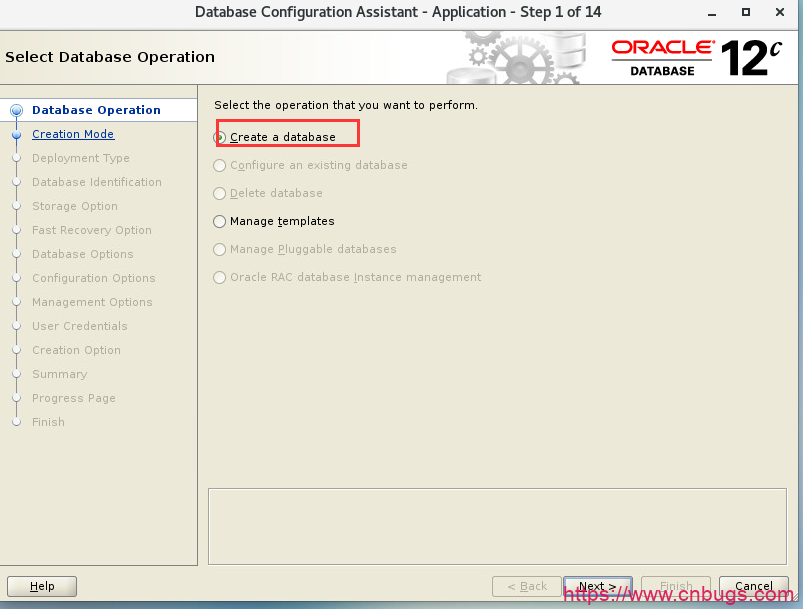
[oracle@RD-GYJDEDRT ~]$ dbca
创建一个数据库
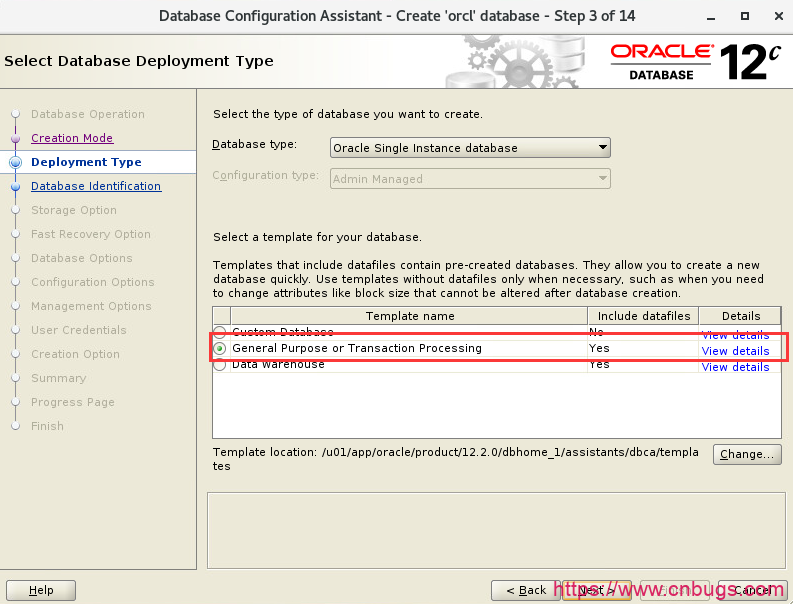
选择高级选项

选择一般事务
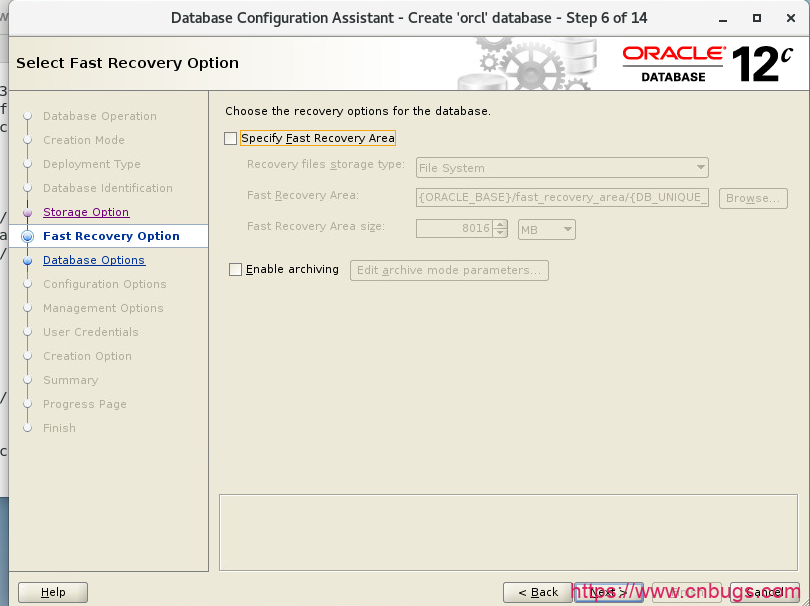
是否开启归档日志
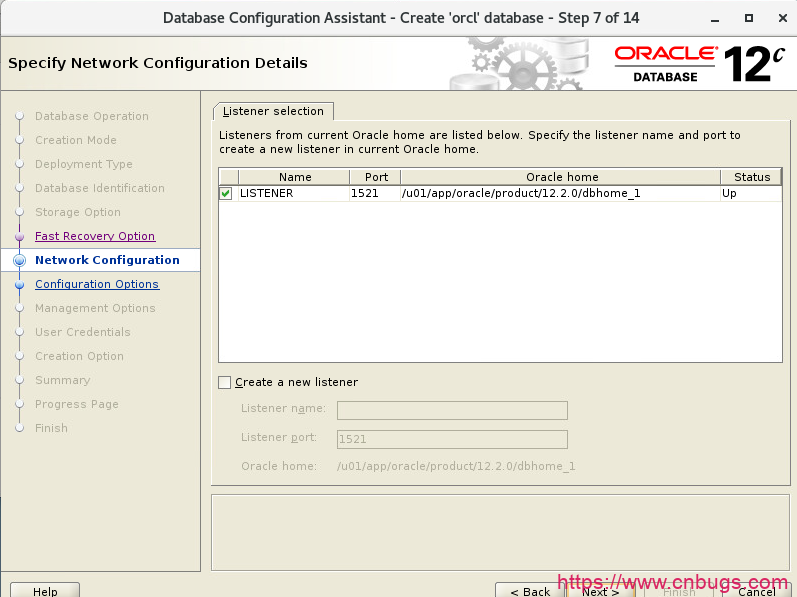
选择使用的监听
关闭Vault

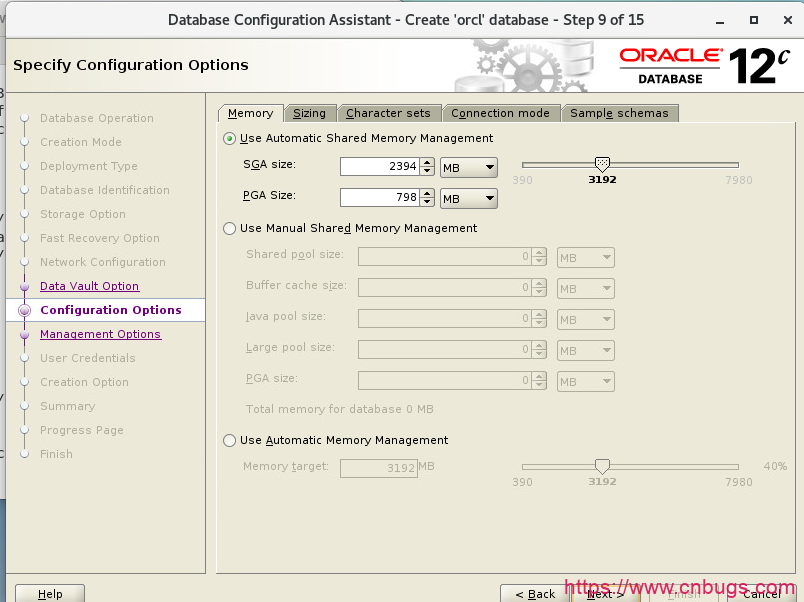
SGA、PGA内存占用默认即可
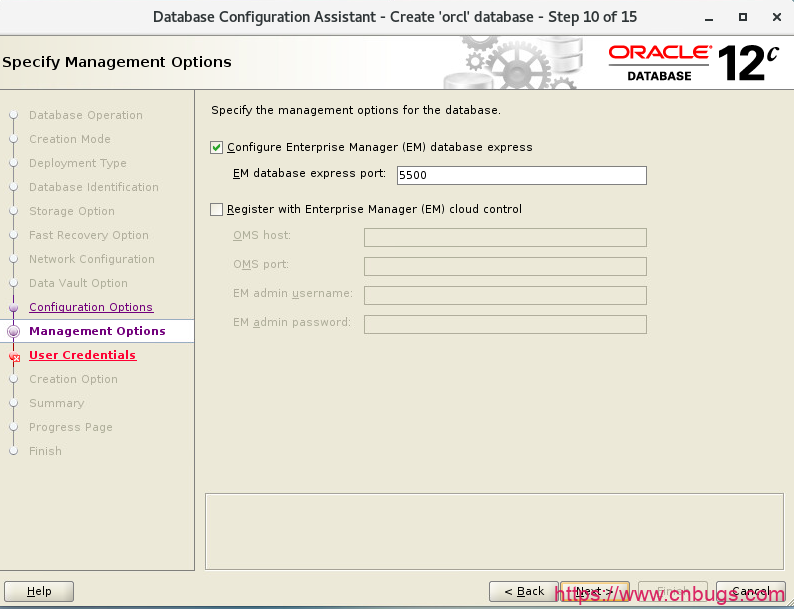
是否开启EM
设置system和sys密码

使用默认创建数据库
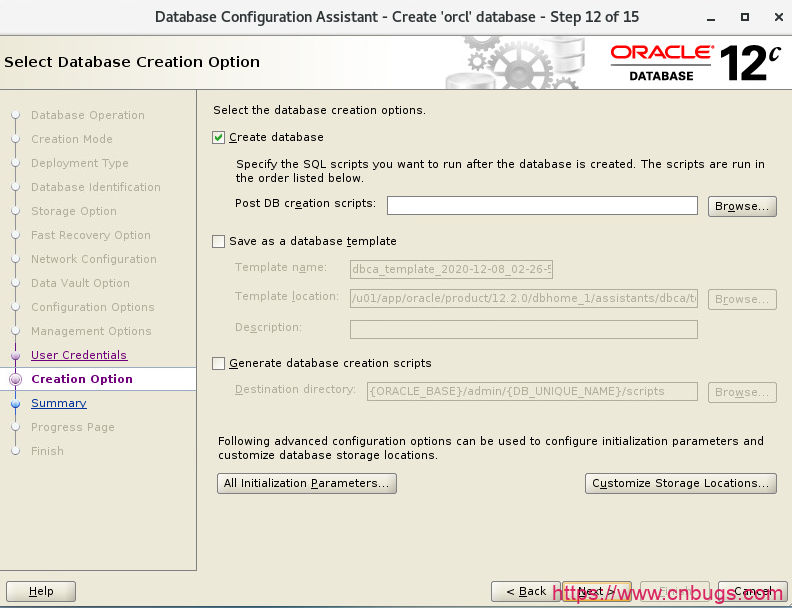
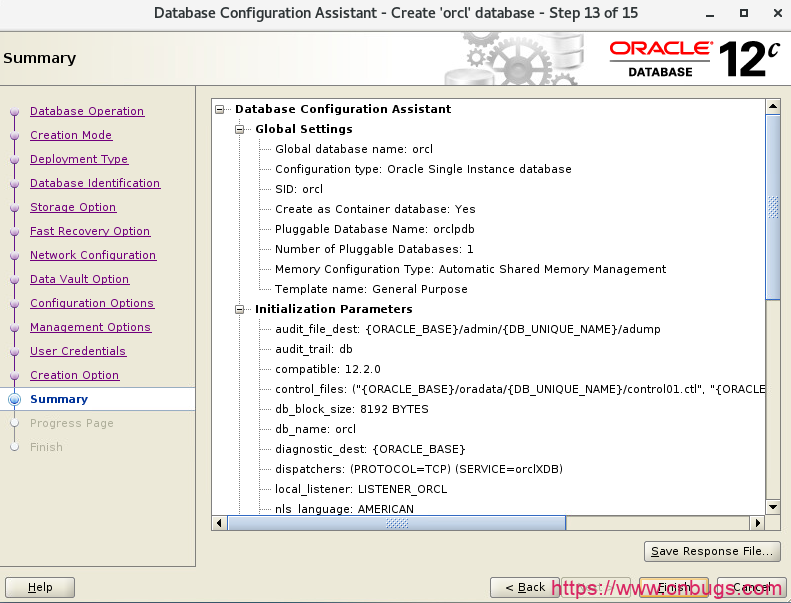
确认配置开始安装
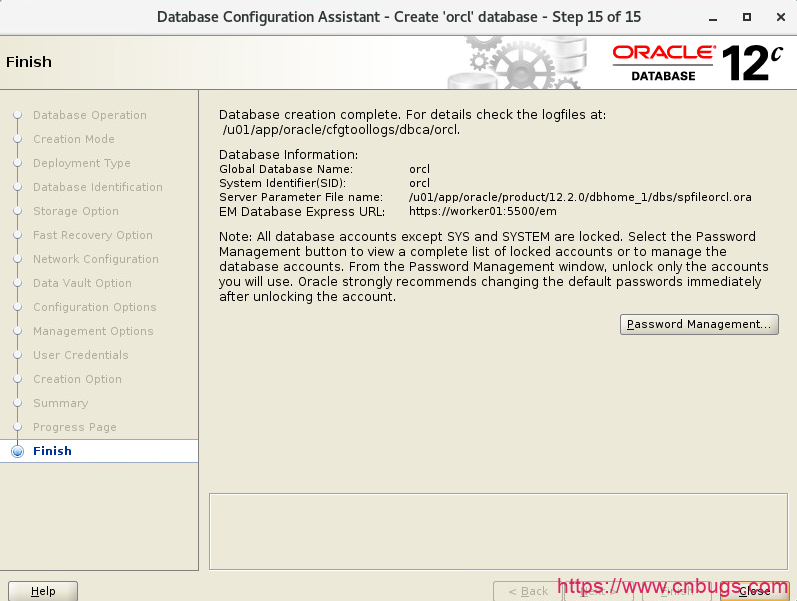
安装完成
尝试登录
报错信息
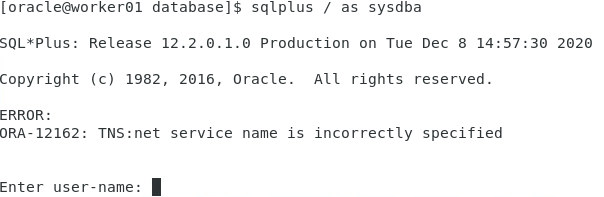
这是没有SID导致,查看变量信息

添加变量
[oracle@worker01 ~]$ cat>>~/.bash_profile<<EOF
export ORACLE_SID=orcl
EOF
[oracle@worker01 ~]$ source .bash_profile 再次登录正常
[oracle@worker01 ~]$ sqlplus / as sysdba
SQL*Plus: Release 12.2.0.1.0 Production on Tue Dec 8 15:14:31 2020
Copyright (c) 1982, 2016, Oracle. All rights reserved.
Connected to:
Oracle Database 12c Enterprise Edition Release 12.2.0.1.0 - 64bit Production
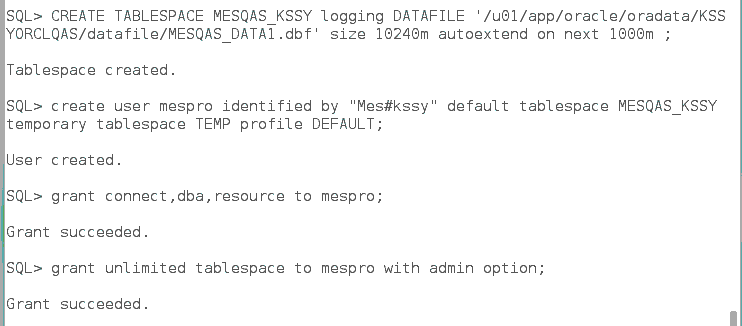
SQL> 四、表空间创建
 sql> CREATE tablespace MESQAS_SHYCBZ logging DATAFILE'  /data/u01/app/oracle/oradata/KSSYORCLQAS/datafile/MESQAS_Data1.dbf' size 10240m autoextend on next 1000m ;
创建用户: create user mespro identified by "Mes1qaz#EDC" default tablespace MESQAS_TBSP temporary tablespace TEMP profile DEFAULT;
用户授权:
grant connect,dba,resource to mespro ;
对象授权:
grant unlimited tablespace to mespro with admin option;
至此oracle彻底安装完成
声明:此文章纯属原创,转载请标明出处。否则将追究法律责任。不明白的可以加QQ群讨论,群号在最下方。谢谢!
声明:本站所有文章,如无特殊说明或标注,均为本站原创发布。任何个人或组织,在未征得本站同意时,禁止复制、盗用、采集、发布本站内容到任何网站、书籍等各类媒体平台。如若本站内容侵犯了原著者的合法权益,可联系我们进行处理。