nginx开启目录和认证访问
一、安装nginx
下载nginx
[root@file ~]# wget http://nginx.org/download/nginx-1.17.3.tar.gz
解压
[root@file ~]# tar xf nginx-1.17.3.tar.gz
安装依赖环境
[root@file nginx-1.17.3]# yum install openssl openssl-devel zlib zlib-devel gcc gcc-c++ pcre pcre-devel -y
配置
[root@file ~]# cd nginx-1.17.3
 [root@file nginx-1.17.3]# ./configure --prefix=/usr/local/nginx --with-http_ssl_module --with-http_auth_request_module
编译并安装
[root@file nginx-1.17.3]# make && make install
启动服务
[root@file nginx-1.17.3]# /usr/local/nginx/sbin/nginx
[root@file nginx-1.17.3]# netstat -ntlp|grep nginx
 tcp        0      0 0.0.0.0:80              0.0.0.0:*               LISTEN      4167/nginx: master
写入变量
[root@file nginx-1.17.3]# echo "export PATH=$PATH:/usr/local/nginx/sbin" >>/etc/profile
 [root@file nginx-1.17.3]# source /etc/profile
[root@file nginx-1.17.3]# nginx -s reload
二、配置目录和认证访问
修改配置文件
[root@file html]# vim /usr/local/nginx/conf/nginx.conf
server里增加如下
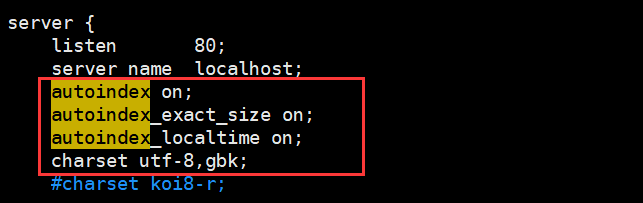
autoindex on; # 开启目录文件列表
autoindex_exact_size on; # 显示出文件的确切大小,单位是bytes
autoindex_localtime on; # 显示的文件时间为文件的服务器时间
charset utf-8,gbk; # 避免中文乱码
三、配置用户名密码认证
安装httpd-tools
[root@file html]# yum install httpd-tools -y
生成密码文件
[root@file html]# htpasswd -bc /usr/local/nginx/passwd test1 test1
 Adding password for user test1
配置nginx,增加配置信息
auth_basic "input your password"; #这里是验证时的提示信息
auth_basic_user_file /usr/local/nginx/passwd;
完整server配置文件如下
server {
         listen       80;
         root /usr/local/nginx/html;
         server_name  localhost;
         autoindex on;
         autoindex_exact_size on;
         autoindex_localtime on;
         charset utf-8,gbk;
         #charset koi8-r;
          auth_basic "Please input password";
          auth_basic_user_file /usr/local/nginx/passwd;
重启服务
[root@file html]# nginx -t
 nginx: the configuration file /usr/local/nginx/conf/nginx.conf syntax is ok
 nginx: configuration file /usr/local/nginx/conf/nginx.conf test is successful
 [root@file html]# nginx -s reload
验证
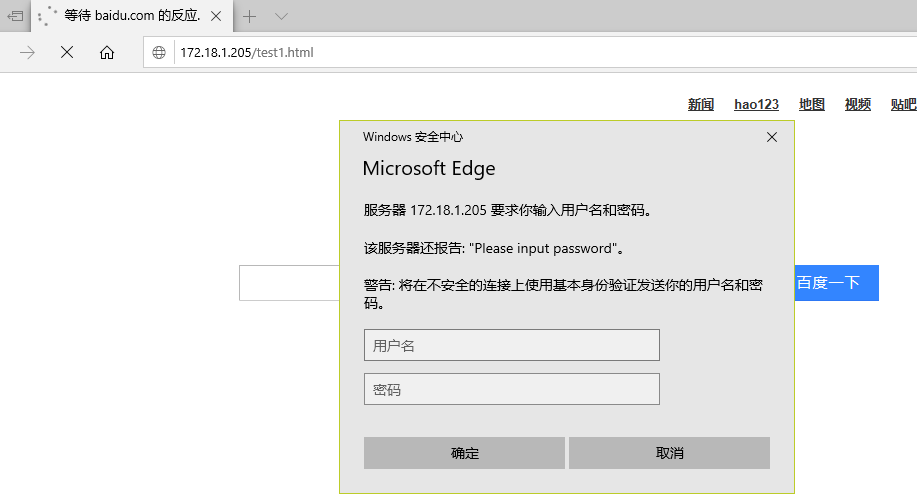
大功告成
声明:本站所有文章,如无特殊说明或标注,均为本站原创发布。任何个人或组织,在未征得本站同意时,禁止复制、盗用、采集、发布本站内容到任何网站、书籍等各类媒体平台。如若本站内容侵犯了原著者的合法权益,可联系我们进行处理。