OpenStack搭建之中间件安装(二)
以下操作均在controller节点安装
一、安装Mariadb数据库
安装Mariadb数据库软件及依赖
yum install -y mariadb mariadb-server python2-PyMySQL修改数据库配置文件
cat<<EOF>>/etc/my.cnf.d/openstack.cnf
[mysqld]
bind-address = 192.168.100.103
default-storage-engine = innodb
innodb_file_per_table = on
max_connections = 4096
collation-server = utf8_general_ci
character-set-server = utf8
EOF
启动数据库服务并设置为开机启动
systemctl enable mariadb
systemctl start mariadb
查看服务启动状态
systemctl status mariadb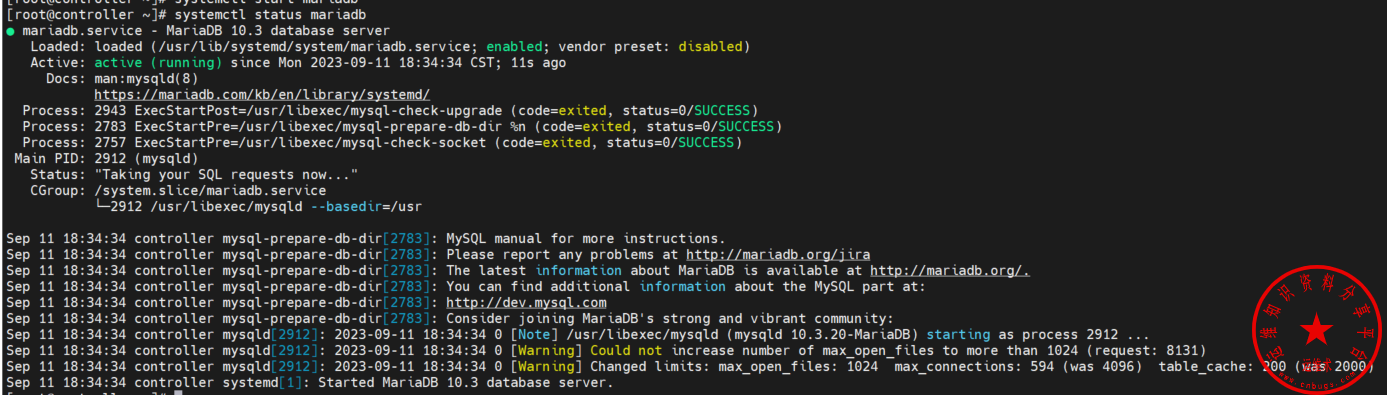
初始化MariaDB并设置root密码
mysql_secure_installationNOTE: RUNNING ALL PARTS OF THIS SCRIPT IS RECOMMENDED FOR ALL MariaDB
SERVERS IN PRODUCTION USE! PLEASE READ EACH STEP CAREFULLY!
In order to log into MariaDB to secure it, we'll need the current
password for the root user. If you've just installed MariaDB, and
you haven't set the root password yet, the password will be blank,
so you should just press enter here.
Enter current password for root (enter for none):
OK, successfully used password, moving on...
Setting the root password ensures that nobody can log into the MariaDB
root user without the proper authorisation.
Set root password? [Y/n] y
New password:
Re-enter new password:
Password updated successfully!
Reloading privilege tables..
... Success!
By default, a MariaDB installation has an anonymous user, allowing anyone
to log into MariaDB without having to have a user account created for
them. This is intended only for testing, and to make the installation
go a bit smoother. You should remove them before moving into a
production environment.
Remove anonymous users? [Y/n] y
... Success!
Normally, root should only be allowed to connect from 'localhost'. This
ensures that someone cannot guess at the root password from the network.
Disallow root login remotely? [Y/n] y
... Success!
By default, MariaDB comes with a database named 'test' that anyone can
access. This is also intended only for testing, and should be removed
before moving into a production environment.
Remove test database and access to it? [Y/n] y
- Dropping test database...
... Success!
- Removing privileges on test database...
... Success!
Reloading the privilege tables will ensure that all changes made so far
will take effect immediately.
Reload privilege tables now? [Y/n] y
... Success!
Cleaning up...
All done! If you've completed all of the above steps, your MariaDB
installation should now be secure.
Thanks for using MariaDB!使用刚设置的密码登录下数据库
mysql -uroot -p000000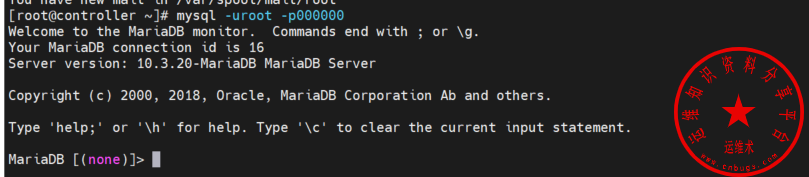
二、安装RabbitMQ消息队列
安装RabbitMQ服务
yum install -y rabbitmq-server启动服务并设置为开机启动
systemctl enable rabbitmq-server
systemctl start rabbitmq-server
创建用户名和密码以及设置权限
rabbitmqctl add_user openstack 000000
rabbitmqctl set_permissions openstack ".*" ".*" ".*".
查看RabbitMQ服务状态是否正常
systemctl status rabbitmq-server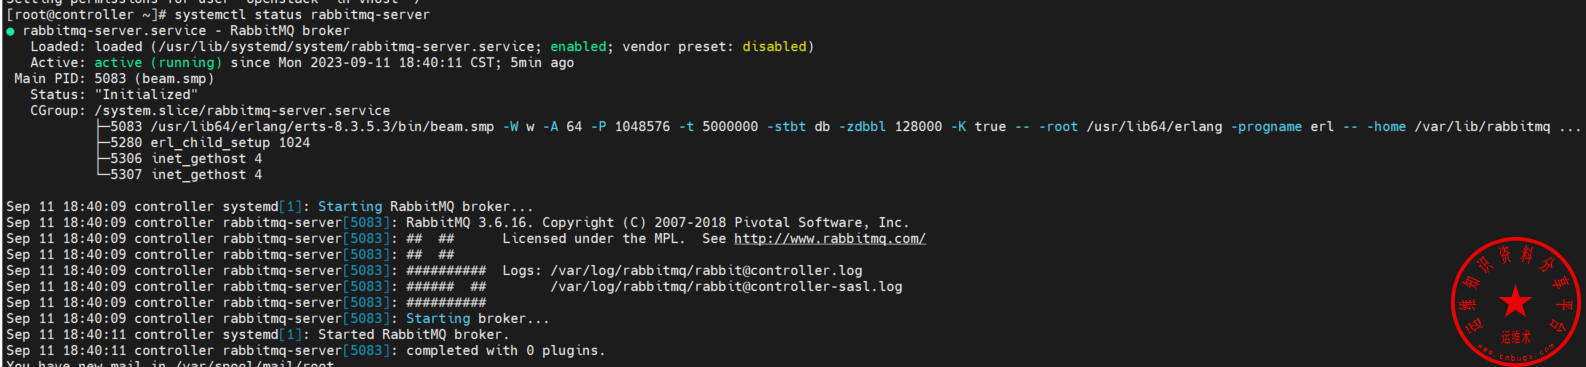
三、安装Memcached服务
安装memcached服务
yum install memcached python-memcached -y配置memcached服务
cat>/etc/sysconfig/memcached<<EOF
PORT="11211"
USER="memcached"
MAXCONN="1024"
CACHESIZE="64"
OPTIONS="-l 127.0.0.1,::1,controller"
EOF
启动memcache服务并设置开机启动
systemctl enable memcached
systemctl start memcached
查看memcached服务状态
systemctl status memcached
四、安装Etcd服务
安装Etcd软件包
yum install etcd -y配置Etcd
cat>/etc/etcd/etcd.conf<<EOF
ETCD_DATA_DIR="/var/lib/etcd/default.etcd"
ETCD_LISTEN_PEER_URLS="http://192.168.100.103:2380"
ETCD_LISTEN_CLIENT_URLS="http://192.168.100.103:2379"
ETCD_NAME="controller"
ETCD_INITIAL_ADVERTISE_PEER_URLS="http://192.168.100.103:2380"
ETCD_ADVERTISE_CLIENT_URLS="http://192.168.100.103:2379"
ETCD_INITIAL_CLUSTER="controller=http://192.168.100.103:2380"
ETCD_INITIAL_CLUSTER_TOKEN="etcd-cluster-01"
ETCD_INITIAL_CLUSTER_STATE="new"
EOF
启动Etcd服务并设置开机启动
systemctl enable etcd
systemctl start etcd
查看etcd服务的状态
systemctl status etcd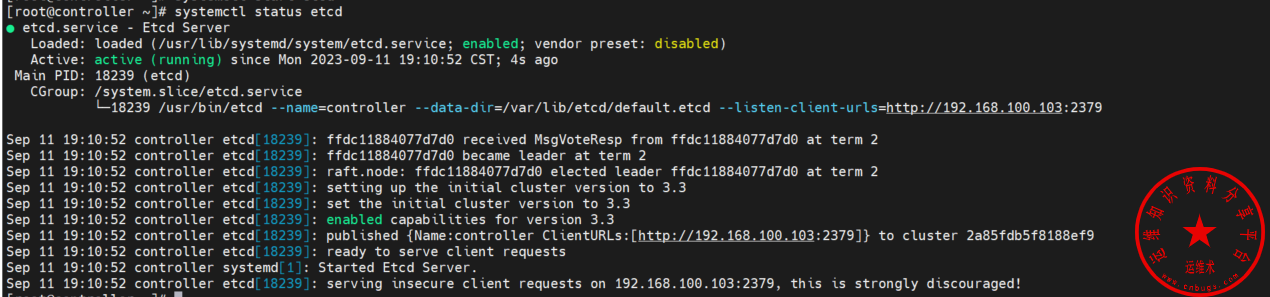
查看所有中间件服务的端口监听状态
netstat -ntlp|grep -v master|grep -v sshd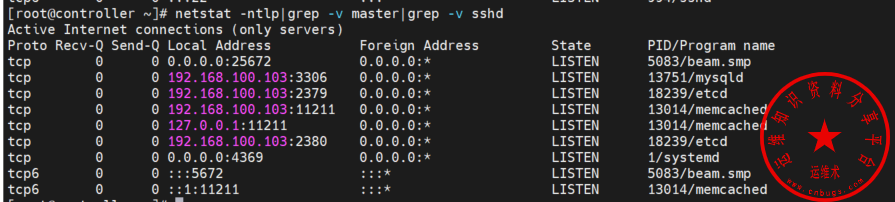
声明:本站所有文章,如无特殊说明或标注,均为本站原创发布。任何个人或组织,在未征得本站同意时,禁止复制、盗用、采集、发布本站内容到任何网站、书籍等各类媒体平台。如若本站内容侵犯了原著者的合法权益,可联系我们进行处理。


